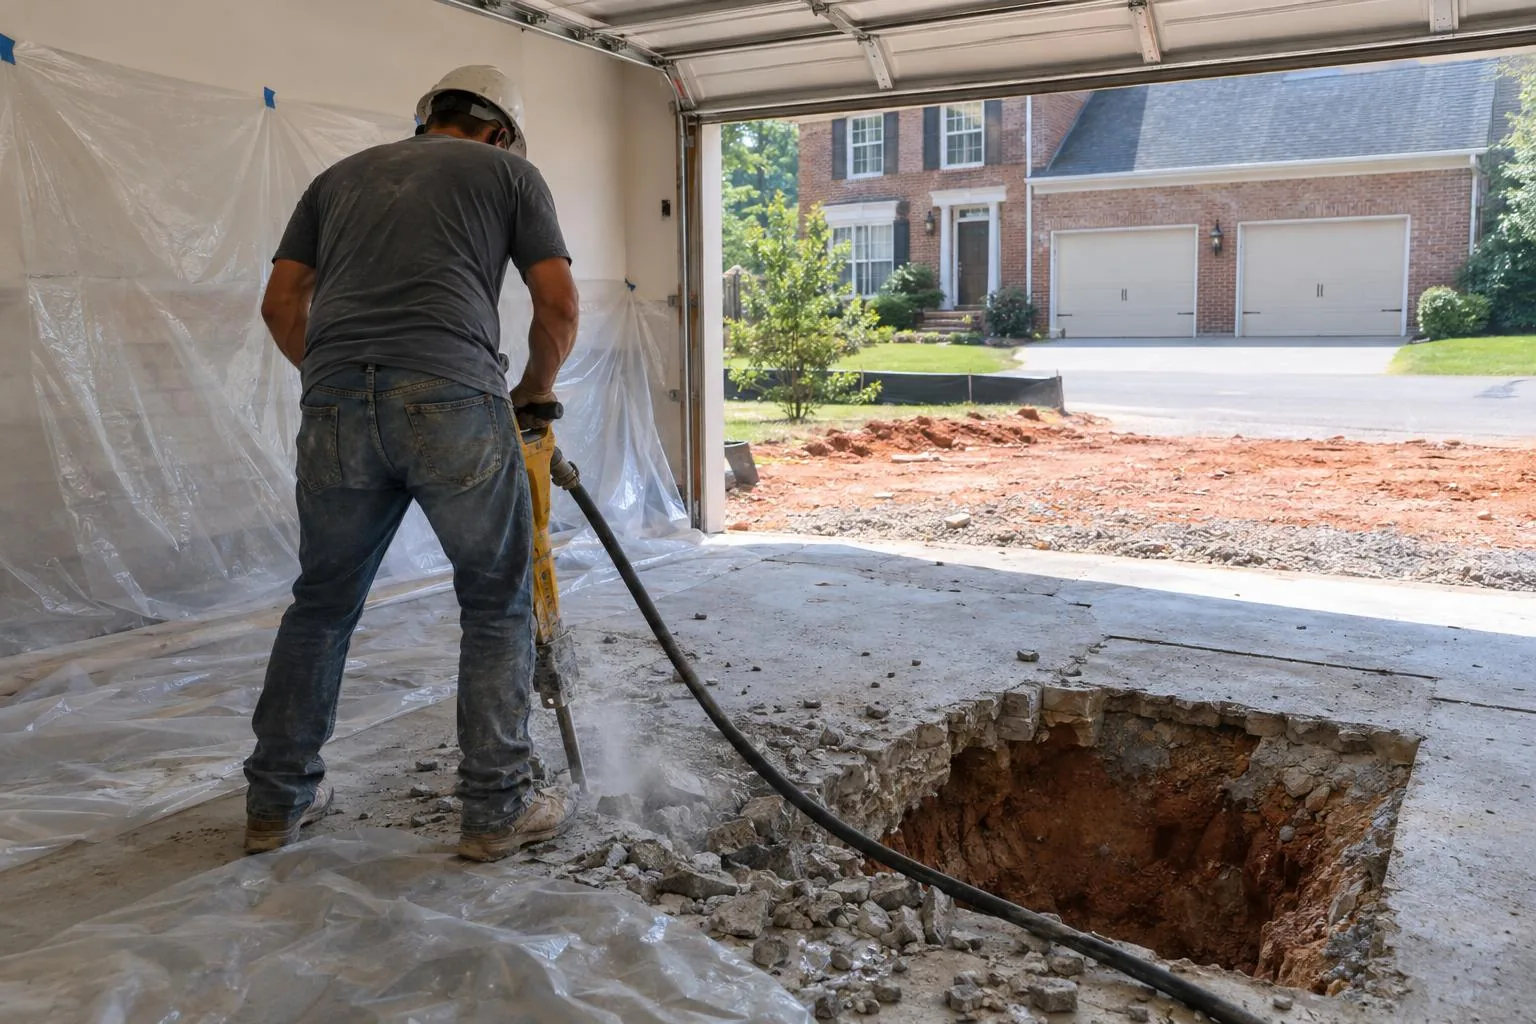
Five stages carry a repair beneath a Johns Creek floor from the first call to a finished surface.
1. Your Call and Camera Booking
A call or a form submission books the camera. Our estimator wants to know which drains slow down, where odors turn up and whether the floor has been opened before. The free written estimate that results lists the scope as one item and every repair route as another, which keeps costs from blurring together ahead of the footage.
2. The Camera Finds the Break
The lens travels beneath the house as you watch, and the technician notes the distance to every defect. A locator held over the floor marks the exact spot above the damage. The video reveals whether the pipe is cracked, shifted or collapsed, and that result decides between lining and an opening. A copy of the recording goes home with you.
3. Options Priced Side by Side
Armed with the footage, the estimator prices a liner first and a spot dig second. Each line gives a cost, a number of days and a description of what happens to the floor. Nothing moves forward until you sign the option you prefer, and the quote stays open long enough for a second read and a few questions.
4. The Repair and the Permit
A liner needs about two hours to cure once the pipe is prepped. If the floor has to open, the crew cuts a small section, installs the new pipe and tests it. We check the permit question with the City of Johns Creek first. Trenchless work takes one to three days, and concrete adds drying time.
5. Inspection and Handover
If the City wants an inspection, we schedule it before the floor is sealed. Water goes through the repaired line, the concrete gets patched, and the crew reviews your written guarantee with you. Both the original recording and a short closing note remain in our files. Any later question goes straight to the office that wrote your estimate.